
ILLUSTRATION KNOWHOW Working with Scanned Line Art

Nick Cross has some tips on how to scan and digitally process hand-drawn monochrome artwork.
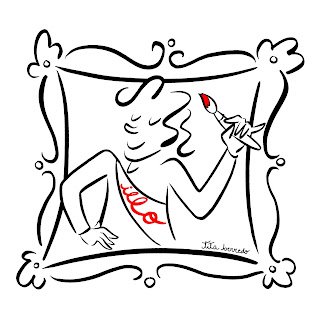
When I was working on my illustrated YA novel Riot Boyyy, I wanted to achieve the feel of a teenager's doodle-filled journal, but using digital techniques. So, I amassed an impressive collection of fineliner pens, and spent a lot of time scanning my drawings and post-processing in Adobe Photoshop. The screenshots that follow are taken from the latest version of Photoshop CC, but many of the techniques will work in older versions, or competitor packages like Affinity Photo.
Scanning
Preserving the grey tones of various textures on the page was important to me, so I scanned mostly in 8-bit greyscale, rather than pure black-and-white. Here's the scanned greyscale artwork opened in Photoshop:
Removing the Background
There are lots of ways to remove the white page background. But an important first step is to lift the artwork into an editable Photoshop layer by double-clicking the Background layer in the layers panel, then clicking OK to replace it with a new layer.
If you just want to replace the white background within Photoshop, there's a fast-track method. Simply change the layer blending mode to Multiply, and any coloured images you place in the layers below will automatically show through the white.

However, I wanted to create images with a transparent background that I could reuse outside of Photoshop. Initially, I was using the Select Color Range function to remove the white background, but Paul Morton showed me an amazing trick using Channels.
Open the Channels tab, hold down CTRL (Command on Mac) and click the Gray channel. This creates a selection of the channel content.

Choose Select->Inverse to select just the line art. Then switch back to the Layers tab and create a new layer.

The final step is to use Edit->Fill to fill the selection with black, and then Select->Deselect.
And voila! You have a perfect reproduction of the original line art with the background removed. What's truly incredible about this method is that the end result is not pure black – it preserves all of the greyscale information from the scanned image. It doesn't have to be rendered in greyscale either, you can fill the selection with colour or even with a gradient, and the texture of the original line is maintained.

Once you've separated the art from the background, you can use the usual Photoshop tools (Eraser, Clone Stamp, etc.) to clean up the image. As different ink pens vary in their blackness, I will often use a Brightness/Contrast adjustment layer with a layer mask to selectively darken some of the lines to make everything look even.
Adjusting Line Width
A more challenging problem comes when trying to combine several pieces of scanned line art on a single page. I want all of the lines to look like they've been drawn by the same pen, but resizing elements will change the relative thickness of the lines. Luckily, there are a couple of Photoshop filters hidden away that can help with this. To thicken lines, select the area you want to alter and choose: Filter->Other->Minimum from the menu bar. You'll get the following dialogue box:
Adjust the Radius slider to magically make the line thicker. There's also a corresponding filter called Maximum that can make lines thinner (is it me, or do these seem to be named the wrong way round?)
Here's what the finished line art looks like incorporated into a page of Riot Boyyy:

So there you have it – a few techniques to make working with monochrome line art easier. If you have any great tips of your own, please do leave them in the comments box.
Nick.
*Feature image: Adobe Photoshop screenshot by Nick Cross

Nick Cross is a writer/illustrator, and winner of both Undiscovered Voices and a SCBWI Magazine Merit Award for fiction. He is currently writing and illustrating his first graphic novel.
Nick is represented by Heather Cashman at Storm Literary Agency.


Nice tips. thanks, and those all work in CS5 (in case anyone else is using old software!). What I often also do is duplicate the scanned art layer, and (using that top layer) do a threshold layer to change the art to a black-white divide, but not so much as to include any tiny marks on the paper, and then Select Colour to select the "black", but return to the art on the layer below before masking everything BUT that selection. This also keeps the quality of the line art - or indeed any colour art.
ReplyDeleteMany thanks for this Nick. Its very well explained for Photoshop numpties like me.Much appreciated.
ReplyDelete